Preliminary Phase
In advance of sociometry testing, the additional data must be created in SociometryPro program (in other word, you have to provide a phase of preparation for sociometry testing) such as:
- Projectwhere all your data for all sociometry researches are encapsulated
- Client Groupparticipating in sociometry testing
- Sociometry Criterion(or sociometry question which is given to each client in the client group)
- Sociometry Investigationwhich encapsulates the data of a related sociometry testing
Running SociometryPro and creating a project
The program can create projects and save user data in different workspaces. In this way, for example, you can create a single project for College N20, another one for IBM Company, and so on… To create a new project:
- Start SociometryPro from program group “SociometryPro from LeDiS Group” (pass through “Start” button of Windows)
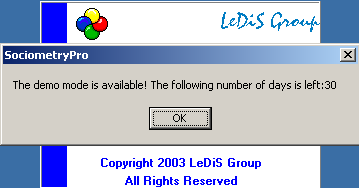
- If the program is in demo mode, then press OK for next message window:
- In the displayed window “SociometryPro”, create new project with toolbar button “Create project”.
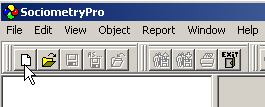
- Save the project with toolbar button “Save project as…”. Input any project filename (for example “testProject_eng”) when you will be asked for that.
Creating a client group
Some client group must be always defined in sociometry investigation. Hence, you have to create a client group data in the program. After that, you have to add clients’ data into this group. During the sociometry testing, the clients of this group will make their choices in accordance to predefined criterion (sociometry question).
To create a client group, perform next:
- Select Clients node in the tree view and press INSERT key on the keyboard.
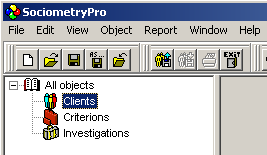
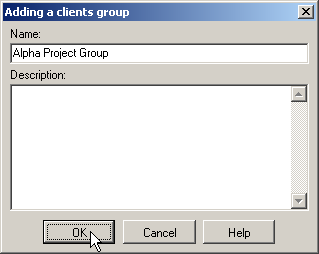
- In the window "Adding a clients group", input group name "Alpha Project Group" and press OK.
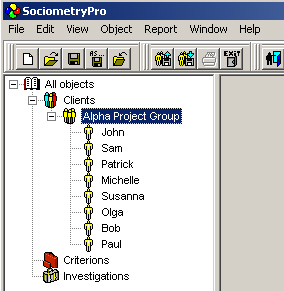
- To add client data into this group, select “Alpha Project Group” node in the tree view and press INSERT keyboard key.

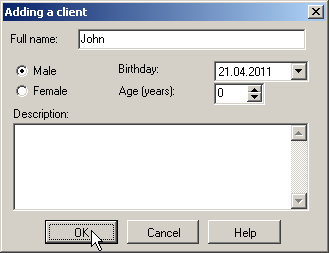
- In the window "Adding a client", input client name "John" and press OK. If you need, point sex radio button (male or female), input birthday and age.
- In the same way (see the previous step), create other 7 clients with names:
- Sam
- Patrick
- Michelle
- Susanna
- Olga
- Bob
- Paul
- Save the project with main menu item “File -> Save”.
PS:
You must always remember that to create a sociometry investigation you have in advance to create a client group with two clients at least (the higher number of clients the better).
Defining a criterion
Any SociometryPro criterion is included into a criteria group. Criteria groups help to place criteria in accordance to user defined preferences. For example, you can create “Formal Criteria” or “Informal Criteria” group, “Criteria for Alpha Project” group and so on.
To create a criteria group, perform next:
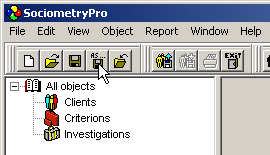
- To create a criteria group, select “Criterions” node in the tree view and press INSERT key on the keyboard.

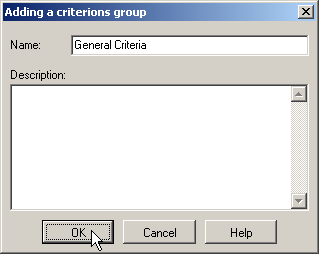
- In the window “Adding a criterions group”, input criteria group name "General Criteria" and press OK.
- To add a criterion into this group, select “General Criteria” node in the tree view and press INSERT on the keyboard.
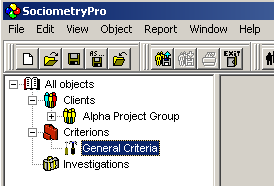
- In the window "Adding a criterion" add criterion name "Who is more preferable for you to work in Alpha Project?" and press OK.

- Save project data with main menu item “File -> Save”.
Creating a sociometry investigation
A sociometry investigation unites sociometry testing data and defines its additional parameters. In other word, an investigation clearly connects a client group and a criterion to each other.
You can allow or ban for clients make rejecting (or negative) choices answering the sociometry question. But it must be mentioned that positive choices are allowed always.
As well, in each sociometry investigation, you can set maximum number of choices (of any kind – positive or negative ones). This is an upper limit of choices which any client can make in relation to other clients in the client group.
To create a sociometry investigation, perform next:
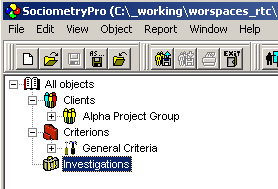
- Select “Investigations” node in the tree view and press keyboard key INSERT.
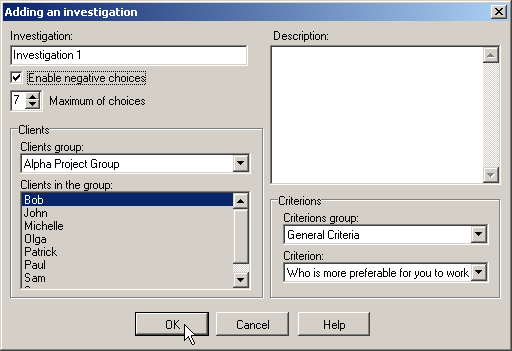
- In the window "Adding an investigation", don’t change investigation name (let it be default), set “Enable negative choices” in active status, input 4 in “Maximum of choices field”. Press OK to confirm creation of the investigation object.
- Save project data with main menu item “File -> Save”.